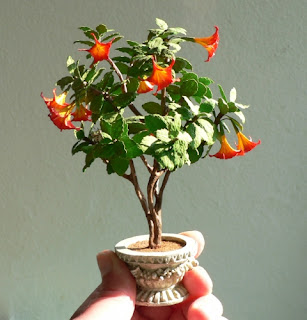
I started my self-imposed challenge to make one plant each week from A - Z. My first plant is A for
Agapanthus.
These are some of the things I used to make my plant. To make the flower heads I separated green embroidery floss into two strands and stiffened them with white glue.
While I waited for those to dry, I washed my hands, got another cup of coffee, and asked myself
why I hadn't just bought a kit to make these?!
Carole at
Wee Cute Treasures made a
beautiful Agapanthus using one of Pascale Garnier's kits. Go see! :D
Inspired, I punched and shaped more flowers from my hand painted paper. There will about twenty tiny flowers on each stalk.
Then I gathered 10 pieces of one inch long embroidery floss. I tied them together in the center with wire. I guessed at the size of the flower head. I looked at Carol's flowers and the planter box she made for them. I made mine about 1.5 cm. The smaller the measurement, the more I like the metric system. :D
Next there was "some assembly required." Don't ask how long this took me. I'll tell you.When I got to
this point I had spent about five hours on this one plant.
I made my leaves with photo copy paper painted on both sides. I usually use masking tape. The copy paper worked great for this plant. By the way, I discovered that "cloth covered wire" is not really covered with cloth. It is wrapped with embroidery floss. I made my own because I didn't have any and didn't feel like going shopping...
So here is my little Agapanthus. Hope you like it. :D
You can be sure that next week's plant will be a
whole lot easier to make! It will start with the letter B.
Hope you have a great day! May you have many, many flowers in
your garden!


