My mission this morning was to finish several projects. All at the same time! I had painting going on in the kitchen. Painting going on my work table. More painting on my desk.
This is what was accomplished since I woke up at 3 AM. :D
✔ Applied second coat of peanut butter glaze on ceiling beams
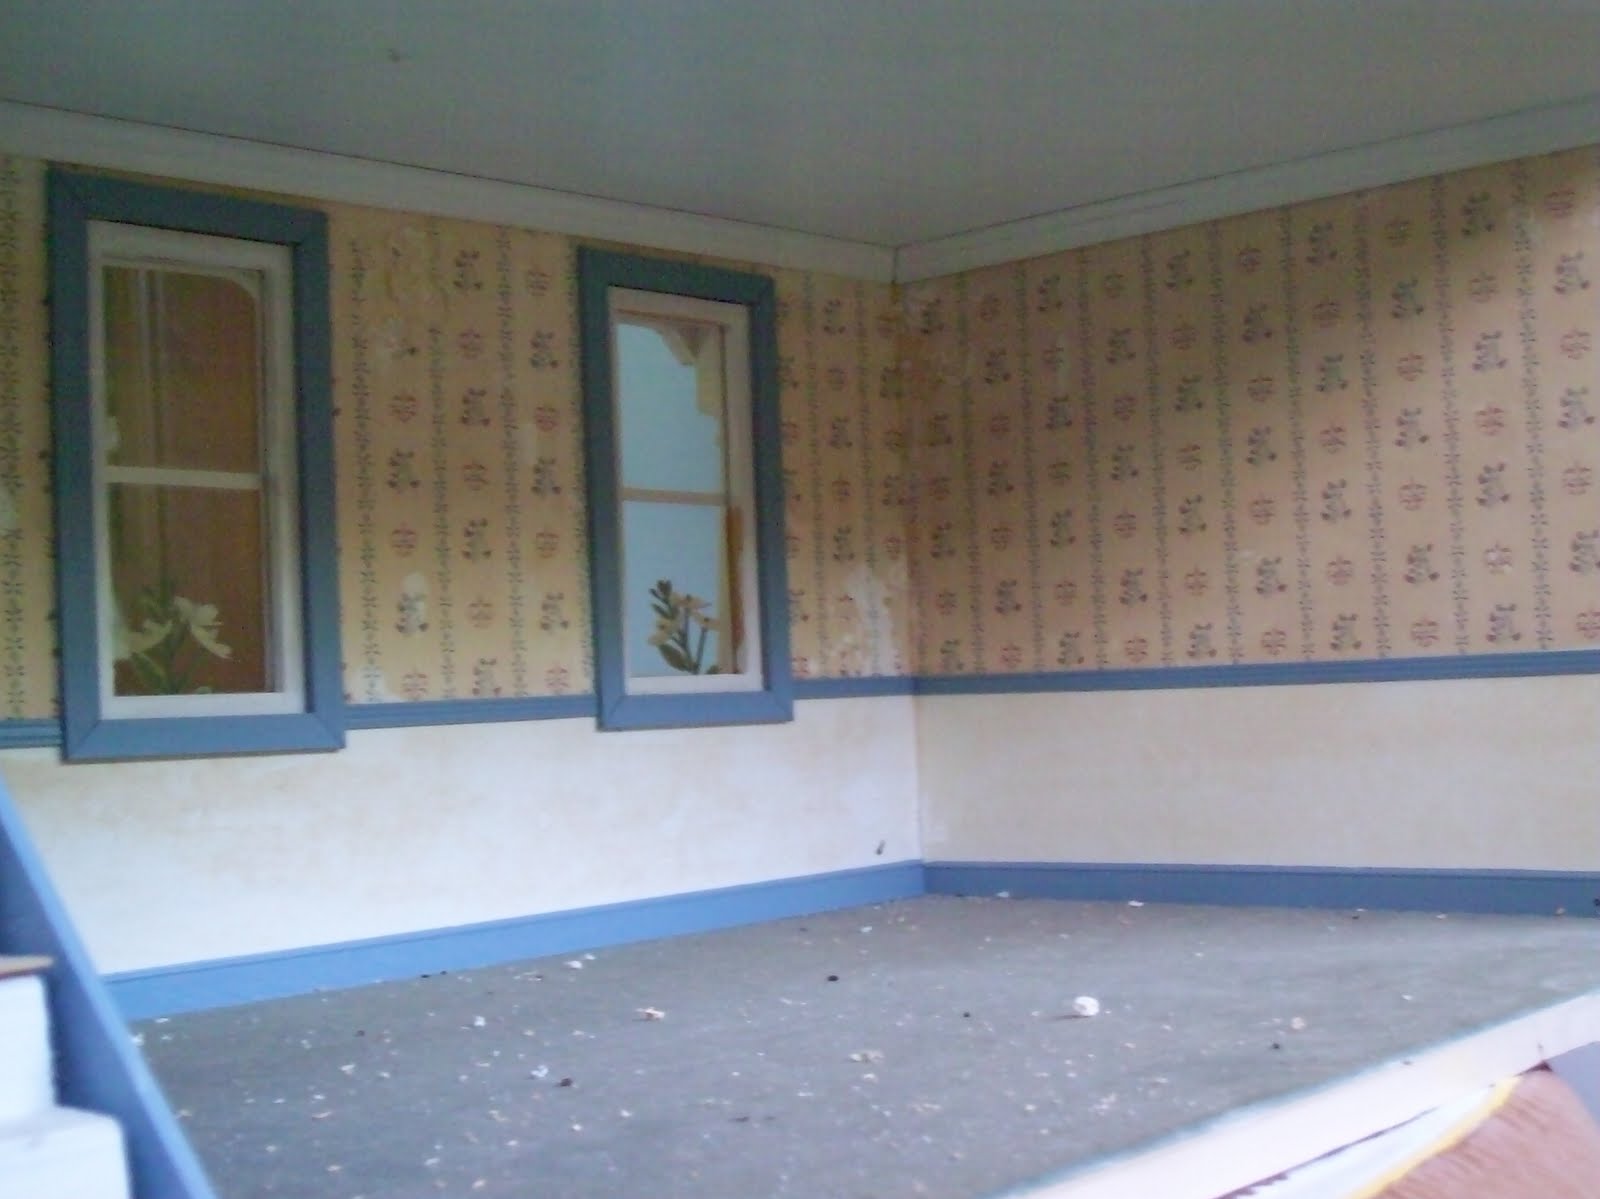
✔ Painted third coat of pineapple upside down paint on upstairs ceiling
✔ Spackled downstairs ceiling where needed
✔ Finished bathroom basket weave tile. Applied first, second and third coat of spray varnish
✔ Finished palm pendant light
✔ Painted first coat of pistachio green on downstairs ceiling
Now I have to get ready to go to work. Real work.
Hope you have a productive day!
Showing posts with label progress. Show all posts
Thursday, November 15
Sunday, October 28
Real Progress
This is what I have had in my mind for a long, long time!
It was fun to dry fit things together this morning. I'm building an atrium on the left.
Here is the upstairs with holes drilled in the floor for LED lights. Thanks Pepper for your great tutorial!
I'm excited to see my project coming together. There has been some real progress made! :D
Hope you have a wonderful day. Thanks for all of your sweet comments!
Labels:
atrium,
dry fit,
garden center,
mini town loft remodel,
progress
Thursday, October 11
Pink Petunias
When I saw IGMA Fellow, Era Anderson Pearce's tutorial for making petunias, I just had to try it.
I found a Gelly Roll 08 white gel pen at Michael's. It worked great for drawing the lines on the flowers. Poke the photo to see them better. I wish I was a better photographer. : p
I really like Era's idea of putting a drop of glue on your thumb nail when attaching leaves and flowers. This is much easier than trying to dip them into a puddle of glue!
Thanks Era for such a lovely, detailed tutorial. It was not easy, but I like the results.
As you can see, I'm making progress! There is still much more to do...
Hope you have a great day!
Labels:
A to Z plants,
garden center,
hanging basket,
petunias,
progress
Sunday, July 11
A Little Bit Accomplished
I'm making some progress with my bougainvillea. Thanks to everyone for your helpful comments, links, emails and tutorials! You are such great mini friends!
What you see here is another idea I had yesterday. I'm using embroidery floss stiffened with glue. I strung my flowers on the floss like I did when I made the lei for Cheryl.
The string in the middle has two or three flowers close together. When the glue is dry I'll shape and position them. I can also cut these long strings apart and use the flowers individually. This is a whole lot easier than trying to make them one at a time!
The branch on the right is just painted florist wire and stiffened brown embroidery floss. I'm still working on my leaves! Thanks Tabitha for your terrific tips and photos! May used the cutest little flower pasta for her bougainvillea. Check out her tutorial!
I found this photo online. This is a real bougainvillea that survived a hard freeze in Florida.
I love how it shows the shape of the plant. I like having a picture to refer to when I'm making something.
I really didn't get much done yesterday but I do have an excuse! A doctor's excuse at that. I had to go to the opthalmologist on Friday. Seems I have a blocked oil gland on my lower eyelid. Not pretty and quite painful too.
I'm having to apply warm compresses to my eye every few hours and drops three times a day. Thankfully, the pain and swelling are gone and my vision is okay. I'm just not allowed to wear my contacts and I don't own a pair of glasses! Maybe I'll have to work on something larger for a while or go take another nap? LOL
Thanks again for all of your encouragement and help! Hope you enjoy this beautiful day!
What you see here is another idea I had yesterday. I'm using embroidery floss stiffened with glue. I strung my flowers on the floss like I did when I made the lei for Cheryl.The string in the middle has two or three flowers close together. When the glue is dry I'll shape and position them. I can also cut these long strings apart and use the flowers individually. This is a whole lot easier than trying to make them one at a time!
The branch on the right is just painted florist wire and stiffened brown embroidery floss. I'm still working on my leaves! Thanks Tabitha for your terrific tips and photos! May used the cutest little flower pasta for her bougainvillea. Check out her tutorial!
I found this photo online. This is a real bougainvillea that survived a hard freeze in Florida.
I really didn't get much done yesterday but I do have an excuse! A doctor's excuse at that. I had to go to the opthalmologist on Friday. Seems I have a blocked oil gland on my lower eyelid. Not pretty and quite painful too.
I'm having to apply warm compresses to my eye every few hours and drops three times a day. Thankfully, the pain and swelling are gone and my vision is okay. I'm just not allowed to wear my contacts and I don't own a pair of glasses! Maybe I'll have to work on something larger for a while or go take another nap? LOL
Thanks again for all of your encouragement and help! Hope you enjoy this beautiful day!
Thursday, November 19
Some Progress Made
I started working on my hardwood floor installation this morning. It's been a project that I've wanted to do for a long time but didn't know where to start!
Thanks to Dale's comment on my last post, I got the advice I needed! Thanks Dale!
Here's the living room before. Doesn't look much like a beach house, does it?
Here's what I've done so far.
Sadly, I have to go get ready for work. I'd really like to stay home and finish this!
Hope you have a wonderful day!
Blessings, Kathi
Thanks to Dale's comment on my last post, I got the advice I needed! Thanks Dale!
Here's the living room before. Doesn't look much like a beach house, does it?
Here's what I've done so far.
Sadly, I have to go get ready for work. I'd really like to stay home and finish this!Hope you have a wonderful day!
Blessings, Kathi
Sunday, October 11
Making Progress
I've been working on my fireplace and bookshelves. Here's what things look like so far...

I went to Mary Charles Dollhouse store yesterday and got some little trim and crown molding for the bookshelves. I still need to glue them together, add the shelves and finish painting.
I also need to remove the chair rail that's in the living room. I found out that a hair dryer will soften wood glue so pieces can be taken apart. Maybe it will work for the chair rail?

Hope the sun shines where you are today!
Blessings,
Kathi
Sunday, September 13
Fireplace - Making Progress
So far, so good. Things are starting to come together here. It's so motivating to see a little project start to look like something...

I still haven't glued the firebox in. I want to do the tile first.
I'm not sure if I will grout it or not. Will have to wait and see how it looks. I read somewhere that you can just sprinkle sand on the wet glue for grout? If it didn't work, I'd have to re-do the tile so I don't know if I'll try that or not. Maybe I'll do a little test on a piece of paper to see how it looks?
Of course I'll still have to make the mantel and the fireplace accessories. I'm determined not to buy anything if I can make it myself!
Onward and upward! I'm having fun! :)
Kathi
Subscribe to:
Posts (Atom)


